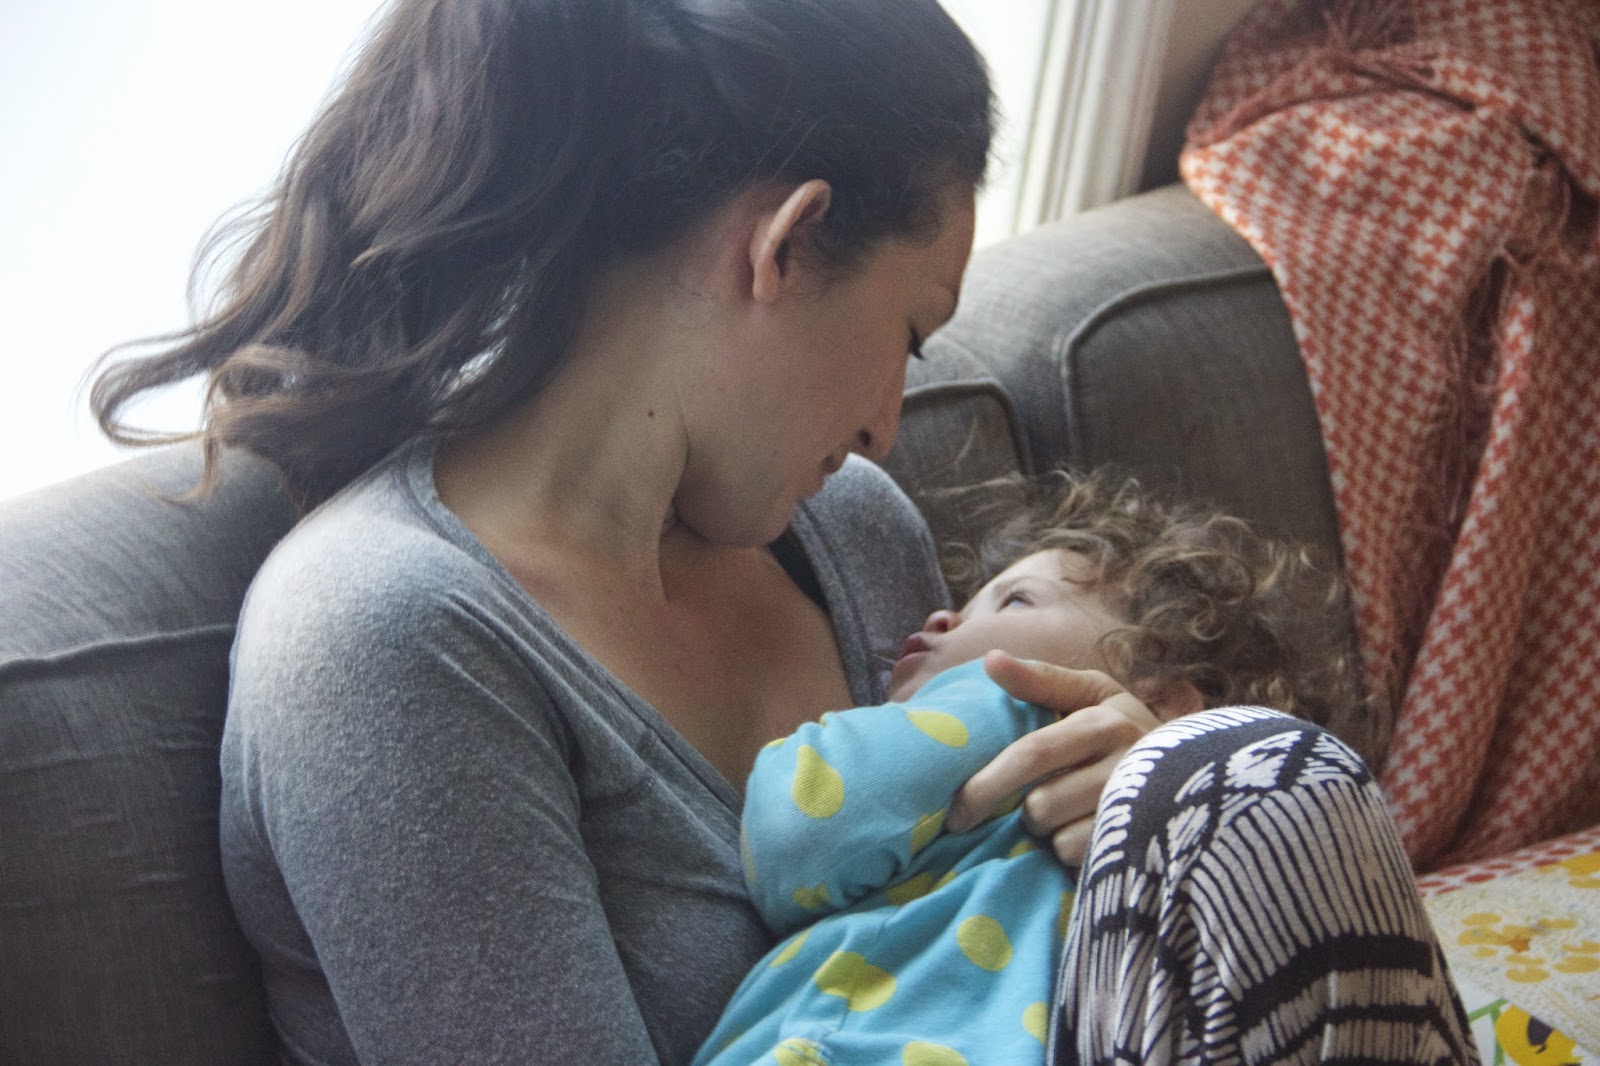
Being a parent is so challenging in general, then your kiddo gets sick and, hells bells...it's even more difficult. It's the worst actually and when Lu is sick, I typically experience 4 stages:
Stage 1. I call in sick to work, whip on my mama super cape and I jump into nourishing action, fueled by a sense of love and pity that my baby is sick.
Stage 2. My super energy begins to wane and I begin to feel frustrated, resentful, and exhausted from all the care and extra attention a sick child needs. I give up and give her a blue lollipop with dinner because she is relentlessly asking for one and we are both miserable.
Stage 3. I regret the lollipop big time. I feel very guilty for feeling frustrated and resentful because it's not her fault she feels crapy. She doesn't want to be sick and she doesn't understand yet what it's all
about. Heck, even my husband and I go into really-needy-and-despondent-mode when we're sick.
Stage 4. I snap back into an abbreviated super mama mode. I fortify my resolve to nurture my Birdie: lots of cuddles, extra attention, maybe a movie on the couch, and more homemade nourishing foods with stricter bedtimes to help her get healthy again.
So Birdie got pink eye last week. I know it's not that big of a deal, and in comparison to Birdie's past illnesses, it was a breeze. But then after a few days of eyedrops from her doctor, when we thought she was almost mended, we went apple picking and with all the eye rubbing, and touching of trees and apples, she ended up with really bad allergies and her poor eyes totally swelled up and pink eye came back in full force. I felt terrible for her and helpless. I, of course, took her to the doctor, but ultimately there was not much to do, other than put anti-itch drops in her eyes and wait. Oh and thrown into the bargain of the doctor's visit, my little lady got blood drawn to check for allergies, and a flu shot to boot. I felt so bad. She was in surprisingly good spirits for looking like this:
Suffice it to say that I definitely cycled through my 4 stages of mothering a sick child. Very luckily I am able to take sick days when needed so I could be home from work and I started with my go-to nourishing food option: homemade chicken soup made with bone broth. Next, I roasted a bunch of veggies and a whole chicken. The next day I made oatmeal with flax and sesame seeds. We cuddled and played and tried to nap.
In situations like this, there is just not much a mama can do but make her child as comfortable as possible while you wait for them to feel better. When I'm at my best mothering, I make very sure that the food I am serving my daughter is homemade, fresh, and nutrient-dense. It gives me some sense of power to heal when I serve her healthy foods, because I know that healthy, nutritious foods are literally healing and nourishing for our bodies.
In situations like this, there is just not much a mama can do but make her child as comfortable as possible while you wait for them to feel better. When I'm at my best mothering, I make very sure that the food I am serving my daughter is homemade, fresh, and nutrient-dense. It gives me some sense of power to heal when I serve her healthy foods, because I know that healthy, nutritious foods are literally healing and nourishing for our bodies.
I know it can be difficult to get your child to eat everything you serve, but I strongly suggest in times of illness to make every attempt to serve homemade and nutrient dense foods. If your child has food preferences, by all means, tailor your menu to your child's flavor palate, yet focus on fresh and local, organic, and non-processed ingredients, when possible. Lots of fruits, veggies, and wholesome soups. Save the Dino nuggets and Annie's Mac & Cheese for another week.
Lucy prefers bananas, but as I mentioned above, my favorite and first choice for nourishing an illness is always: bone broth.
Making bone broth is the very easiest thing to do. There are fancy ways to do this, ala Nourishing Traditions but my lazy and super easy version is below. I pretty much always have homemade chicken stock on hand in my fridge and freezer.
Rather than buying soup bones, I like to buy a whole chicken and roast it with a bunch of veggies for more healthy meals for my sick little one and my husband and I.
Super easy to do, delicious, and uses up all my veggies that are needing to be used.
Another great, hearty, and healthy option for my Lu when she is sick: Brown butter and maple syrup oatmeal with flax, chia, and sesame seeds. It is hands down the best oatmeal I have ever had and my whole family loves it. I like knowing that every bite of food I give her is delicious and nutrient rich so despite a limited appetite (which is common when kids get sick) her body has the energy to heal.
RECIPES
Homemade Chicken or Beef Stock (aka Bone Broth):
4 lbs of soup bones (ask as your local butcher shop) OR 1 chicken carcass after you have removed all the meat
Enough water to cover the bones by a few inches
1 pinch of sea salt
1 tsp of apple cider vinegar
*Optional: you can toss in any veggies that you need to use up
Take the beef bones or chicken carcass (I know, carcass sounds rough but that's what it is) and I put it in your crock pot. Fill the pot with water then add your salt and vinegar. Turn on high then leave it for 12-24 hours. The longer it cooks, the better. Once it's done, strain out the bones and any veggies you added in and discard. Pour into mason jars to store and once cooled, put in the refrigerator for 5 days or freeze for a few months.
Very important: make sure to buy organic, free-range, local, and grass fed bones for this. When I make bone broth, I want to make 100% sure I am not using bones from animals that have been given antibiotics, hormones, or who were fed with man-made animal feed that is comprised often of corn, soy, and wheat. I am not always huge stickler about this stuff, but when it comes to an ill child, I go out of my way to buy the very best I can afford (and I acknowledge that I am extremely lucky to be able to afford good quality, well raised, sustainable meat, which is priced to be exclusive.) Thankfully, when it comes to buying bones for bone broth, even the very best are still a very good deal, because they are just bones.
Once you have your broth, you can serve to your child in a cup if he or she will take it, or I use it to make simple soups for her. Usually the soups are just veggies and spices softened in the broth.
Roasted Whole Chicken with Root Vegetables
1 Free range, organic, antibiotic free chicken
2 Tbsp. butter
2 cloves garlic, whole
1 clove of garlic, chopped
1 lemon, cut in half
~10 small red potatoes
1/2 a yellow onion quartered
3 carrots
1 sweet potato chopped up into ~1-2" cubes
1 apple
Salt and pepper to taste
*optional: 1 stalk of celery
Preheat the oven to 400 degrees. Chop all veggies and the apple and place in the bottom of a roasting pan (if using the celery add to the pan with the other veggies. Melt butter and set aside briefly. Take your whole chicken, remove any parts from the cavity and then stuff with the lemon halves, the 2 whole garlic cloves, and apple. Tie the legs closed with kitchen twine and tuck the wings under the bird. Place the chicken on the veggies then pour butter all over the outside, using a paper towel or your hands to spread it around evenly. Sprinkle the top with the chopped garlic and season to taste with salt and pepper. Bake for about 90 minutes, or until fully cooked and a meat thermometer reads 180-190 degrees. Remove from oven and let cool for an additional 10 minutes prior to serving.
Brown butter and maple syrup oatmeal with flax, chia, and sesame seeds
I found this recipe from Orangette and I LOVE it. It's hands down the very best oatmeal I've ever had. I modified it a little to suit my tastes and to add in nutrients for my daughter.
1 cup rolled oats
1 Tbsp. butter
1 cup whole milk
3 cups water
1/4 tsp. cinnamon
1 Tbsp. flax seeds
1 Tbsp. sesame seeds
1 Tbsp. chia seeds
1 tsp. sea salt
1/4 cup maple syrup
*optional for topping: greek yogurt and fresh fruit, such as berries or pomegranate seeds
Melt the butter in a heavy bottom pot over medium heat and then add the rolled oats. Stir to coat and then continue to stir for about 3-5 minutes, or until the oats begin to brown (you can start to see brown on one side. Just keep stirring them all around to brown as much as you can without burning.) Add in the water, milk, cinnamon, flax, sesame, chia seeds, and the sea salt. Give it a good stir and then cook over medium low heat for ~25-30 minutes. It will look pretty runny when it's done but turn off the heat, add the maple syrup, and give it another few good stirs, then let it sit for ~10 minutes. Serve with a spoonful of greek yogurt mixed in and/or some fresh fruit on top.


